It’s normal to have more than one CRM environment, e.g. Development, Test, UAT, SAT and/or Production.
In that case, you will probably want to customize every environment so it’s easy to see and know in what environment you’re working. You may want to change the header color or add a logo image.
If you want to add a custom logo image, create that first. I recommend these settings:
PNG image, 300 pixels wide, 108 pixels high, transparant background, 200 dpi
Here is one you can test with: Test.png
Once you have created your image, you need to add it to your environment’s web resources.
Once you have your logo image ready (if you want to add an image, that is), you can edit your environment theme. To do that, open the Advanced Settings of the environment you want to change:
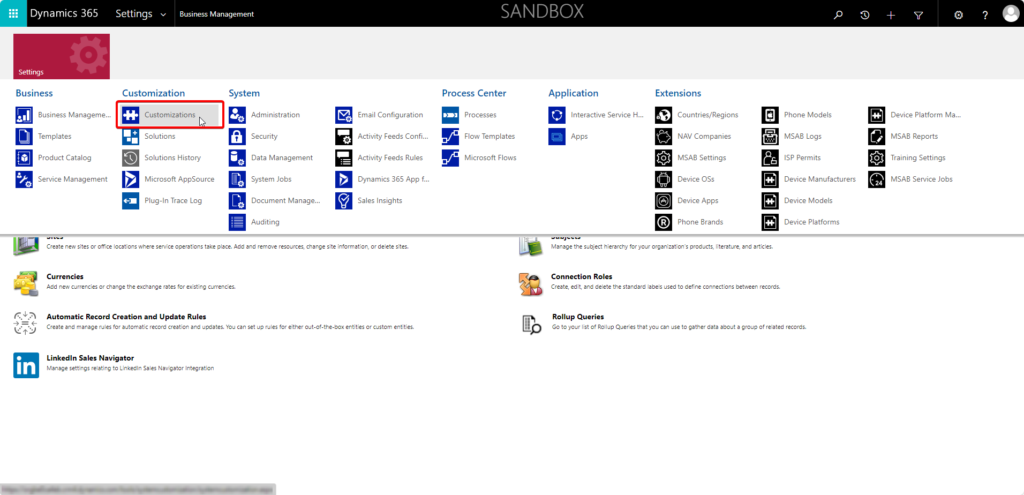
Select “Customizations”
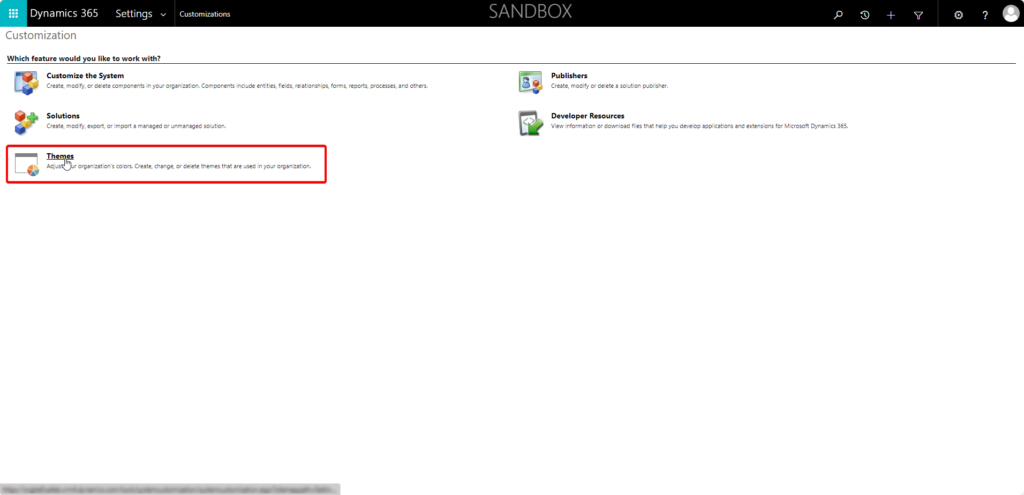
… and then “Themes”. You will probably have some themes there already. In my system, it looks like this:
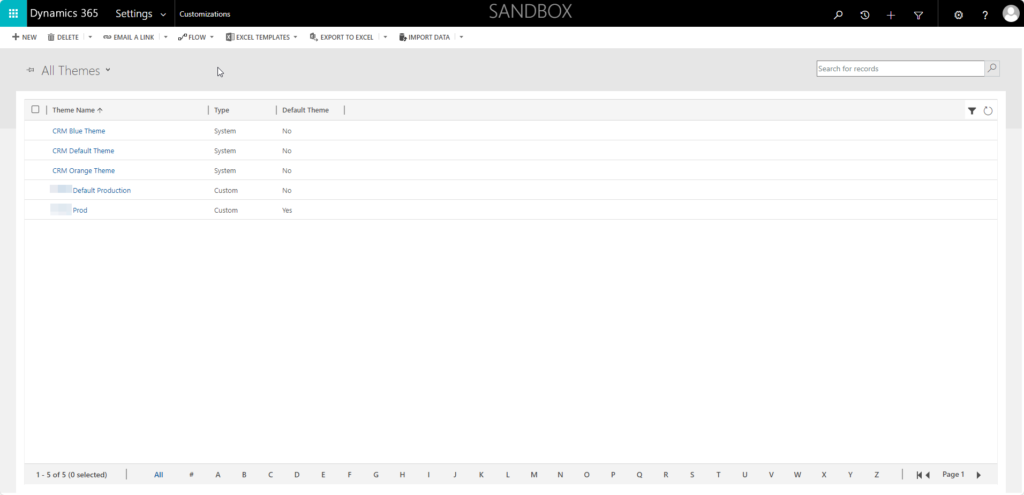
You can either create a new theme by clicking “New” or copy an existing theme by selecting it and clicking “Clone”.
In this case, I’m going to clone my CRM Default Theme:
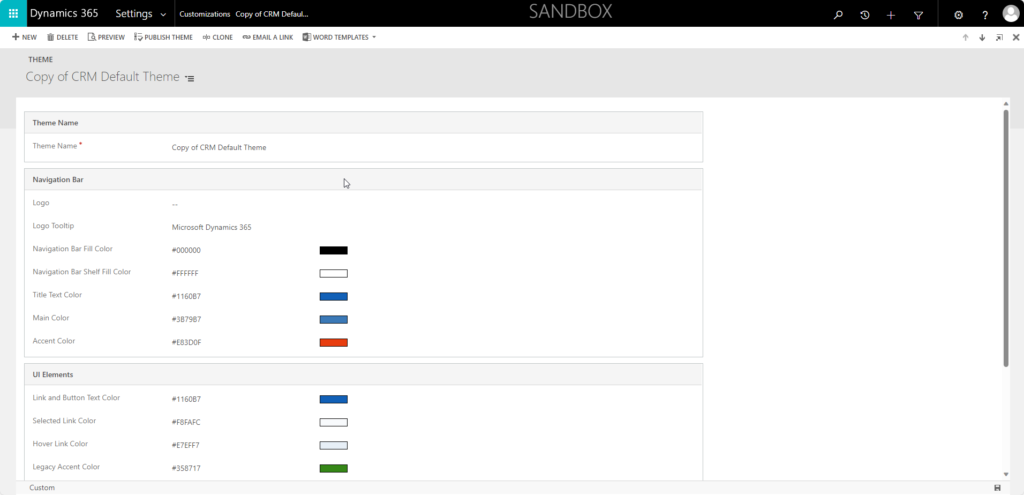
Now you can change the properties you want to change. I’ll change these:
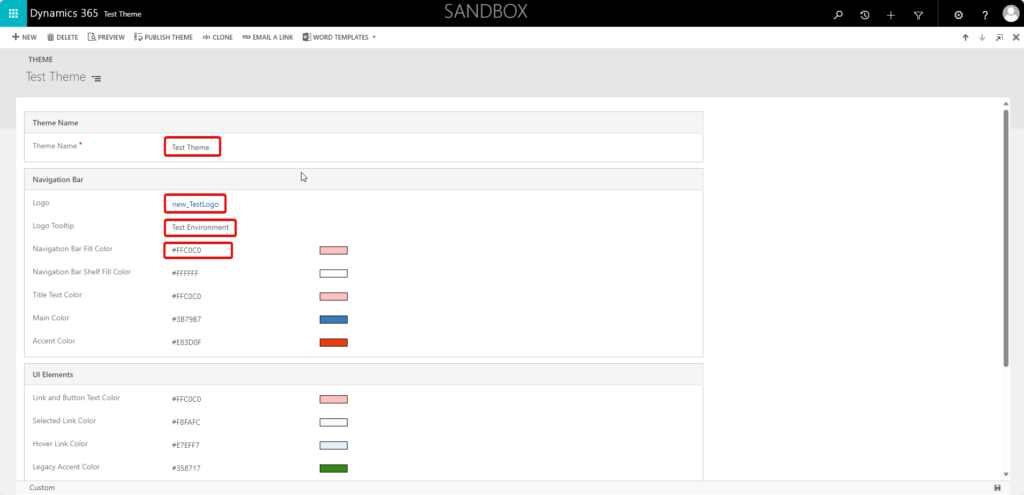
For the color properties, you need to enter the hex codes. Unfortunately, there is no intuitive GUI to select the colors. I recommend a small tool program called Color Cop when you need to find color codes.
OBSERVE: When you change the Navigation Bar Fill Color, it may trigger a change in the other colors!
To apply your new theme, you click the “Publish Theme” button.
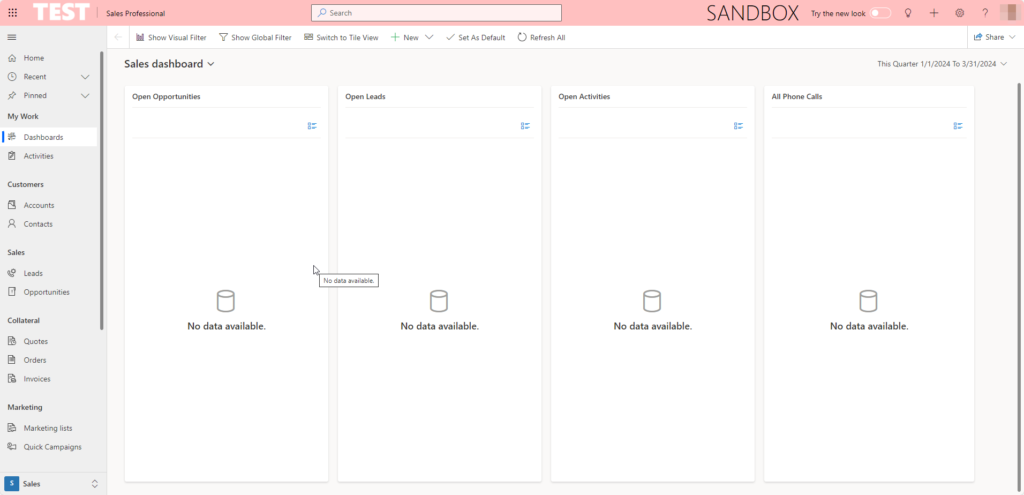
After that, press CTRL+F5 on your environment to test the new settings:
If you’re unsure what the different color properties affect, here is a blog post that explains that in great detail: Theme Colours in Microsoft Dynamics 365 V9
