
Microsoft has started to introduce a new look, called Modern Themes for model-driven apps, including Dynamics 365 CRM apps.
That means that there is a new way of changing the theme colors.
Step one – Create an XML tag containing your color settings
To customize the colors it is now necessary to create an XML resource containing an AppHeaders tag like this:
<AppHeaderColors
  background="#12783F"
  foreground="#FFFFFF"
  backgroundHover="#165A31"
  foregroundHover="#FFFFFF"
  backgroundPressed="#0F1C12"
  foregroundPressed="#FFFFFF"
  backgroundSelected="#153D23"
  foregroundSelected="#FFFFFF"
/>
The colors above have the following effect:
Background– The background color of the app header. This element must be defined for any changes to take effect.Foreground– The text color of the app header. If this isn’t specified, the system attempts to calculate an appropriate color that has sufficient contrast to the provided background color.BackgroundHover– The background color of buttons on the app header when they’re hovered over. If no value is specified, the system calculates a color based on the background color.ForegroundHover– The text color of buttons on the app header when they’re hovered over. If no value is specified, the system attempts to calculate an appropriate color that has sufficient contrast to the backgroundHover color.BackgroundPressed– The background color of buttons on the app header when they’re pressed. The defaulting logic is the same as backgroundHover.ForegroundPressed– The text color of buttons on the app header when they’re pressed. The defaulting logic is the same as foregroundHover.BackgroundSelected– The background color of buttons on the app header when they’re selected. The defaulting logic is the same as backgroundHover.ForegroundSelected– The text color of buttons on the app header when they’re selected. The defaulting logic is the same as backgroundHover.
So start by editing the XML above and set the colors to what you want. Notepad will do fine for that.
Observe: For the color properties, you need to enter the hex codes. Unfortunately, there is no intuitive GUI to select the colors. I recommend a small tool program called Color Cop when you need to find color codes.
Step 2 – Create an XML web resource
In the Environment you want to change colors for, open the Advanced Settings and select “Solutions”.
Create a new solution or open one that you are already working in.
Click Web Resources in the sitemap on the left side:
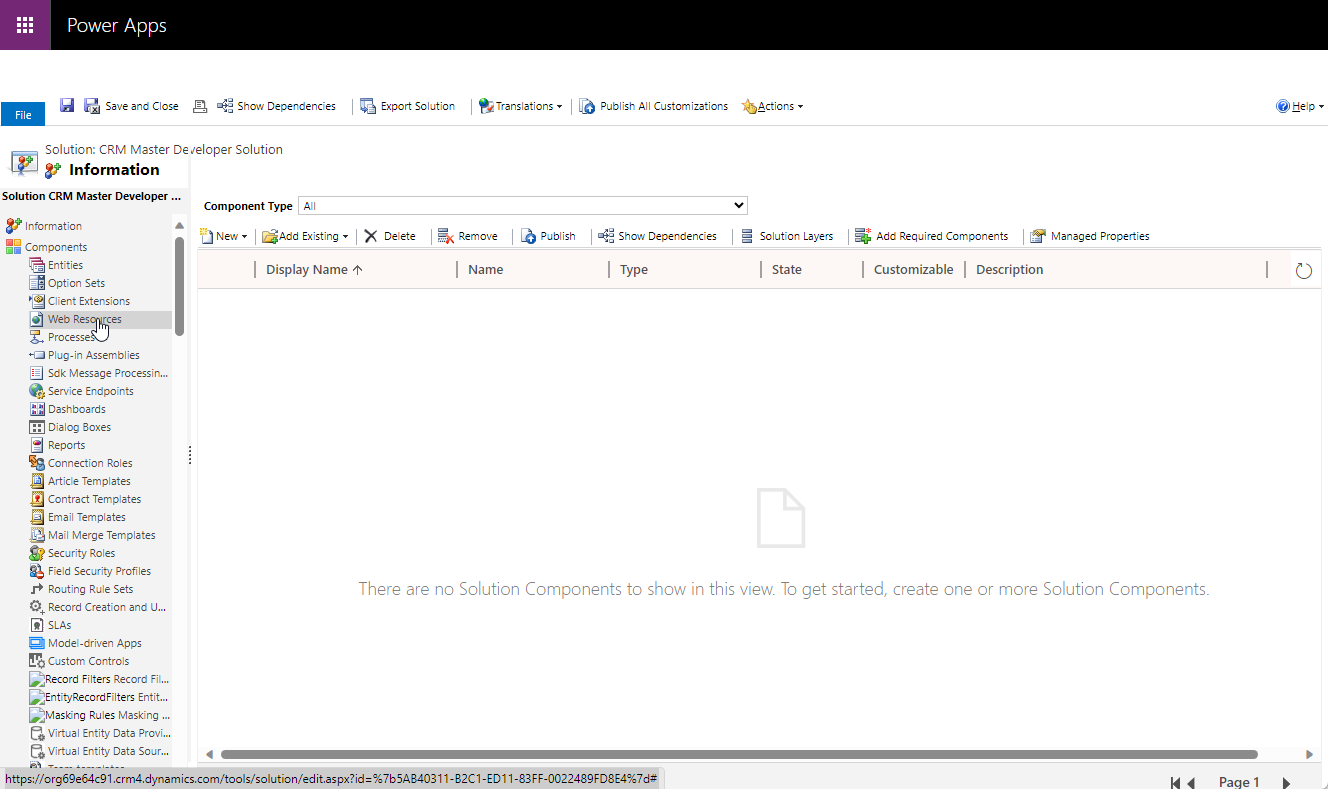
The click “New”:
Enter a unique Name and a sensible Display Name and set the type to XML. Then click “Text Editor”:
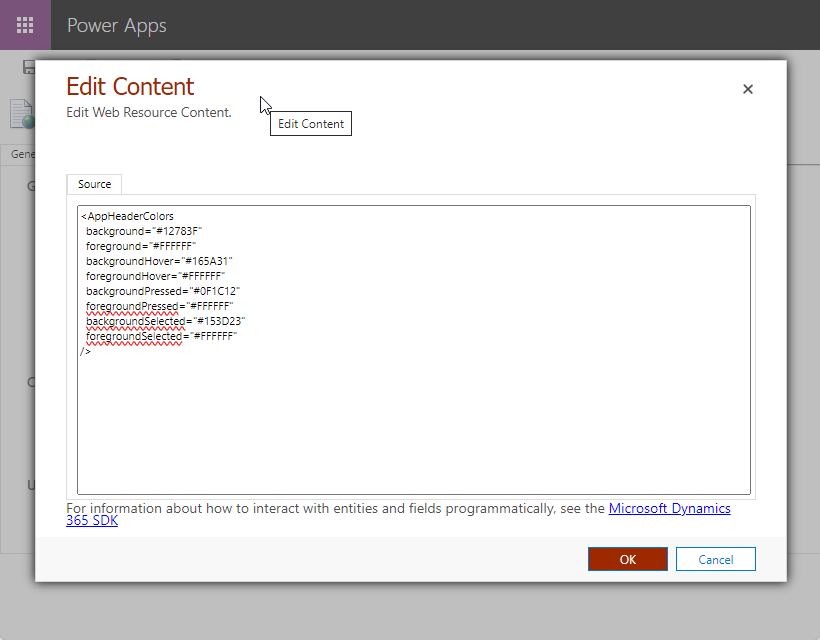
Copy and past your color settings XML tag and click “OK”.
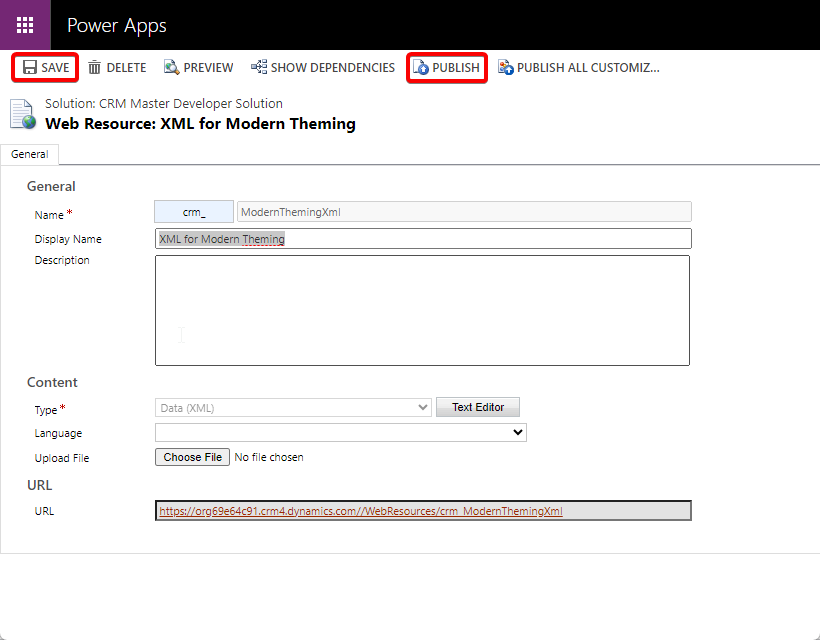
Click “Save”, and when the saving is done, click “Publish”:
Step 3 – Apply your custom colors to your environment
Log in to Power Apps, go to the environment you’re changing and open the solution in which you saved the XML resource.
Observe: You could just as well have added the resource here in Power Apps. I’m just being an old fart and prefer the classic interface, which I find more easy to navigate. Another advantage is that the old interface offers an editor for the file contents. The new interface only supports uploading it as a file – And you have no way of seeing the current contents.
Click “Add Existing”, “More” and “Setting”:
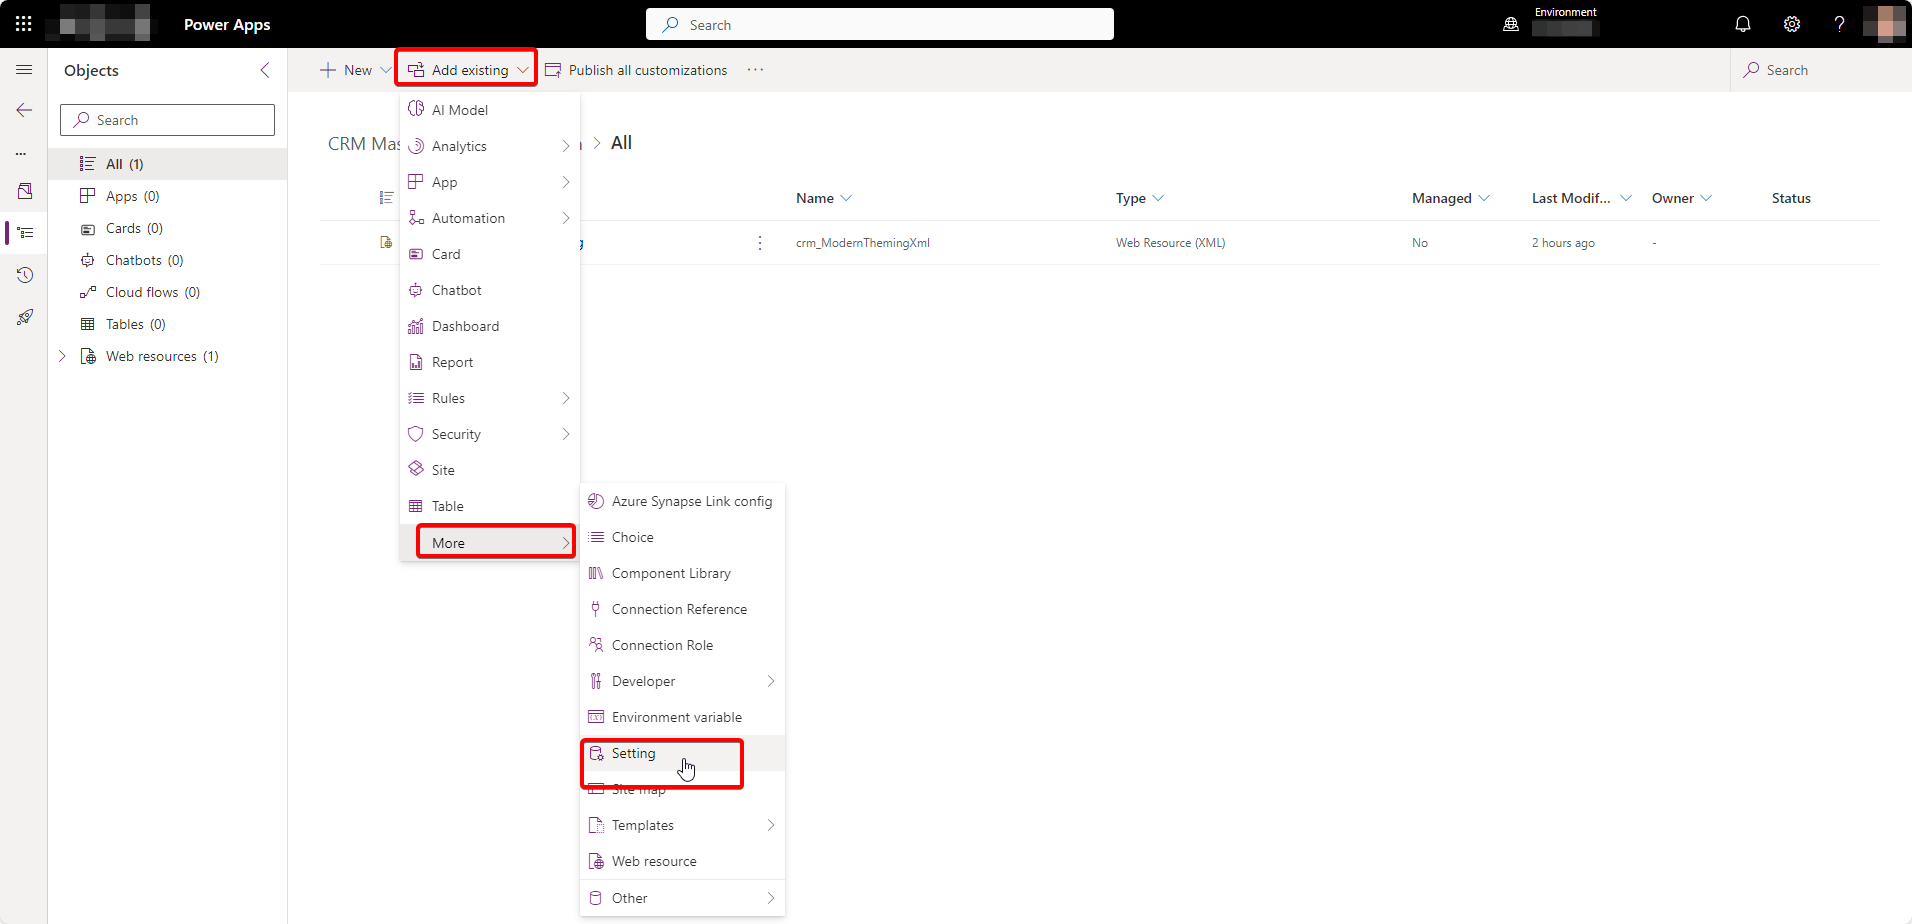
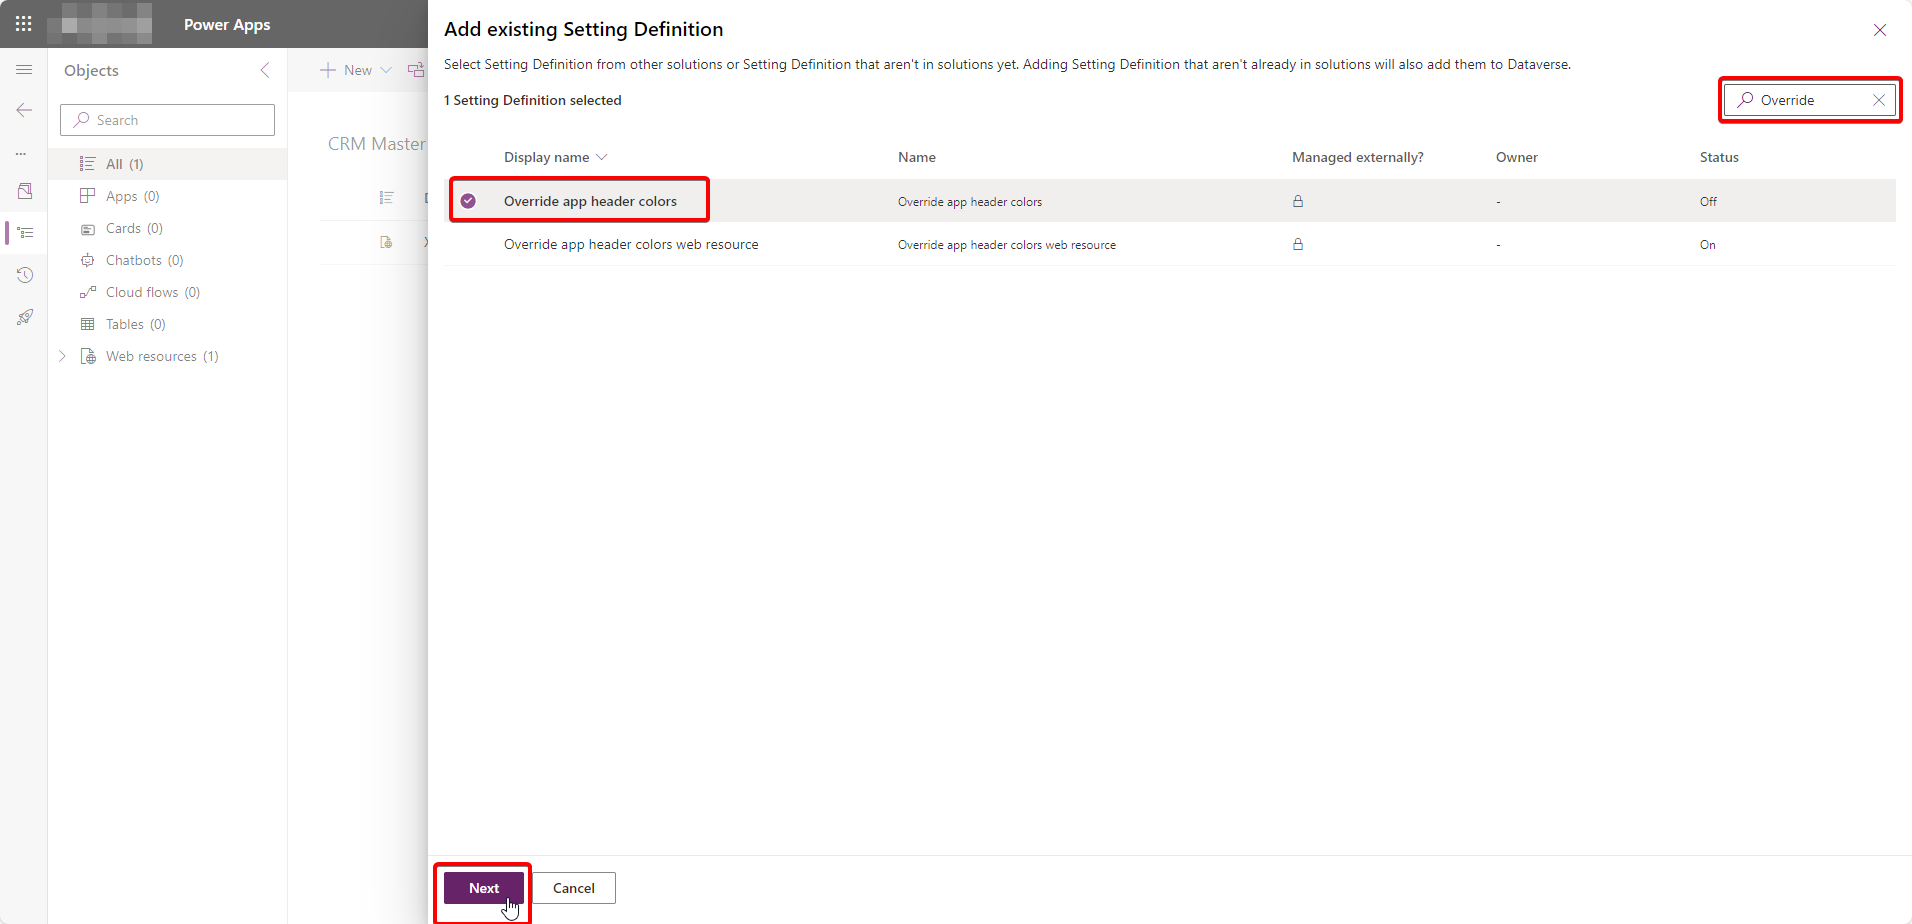
Type “Override” in the seach box and select “Override App Header Colors”. Click “Next”
Click “Add” on the next dialog. You will see that your setting is added to your solution:
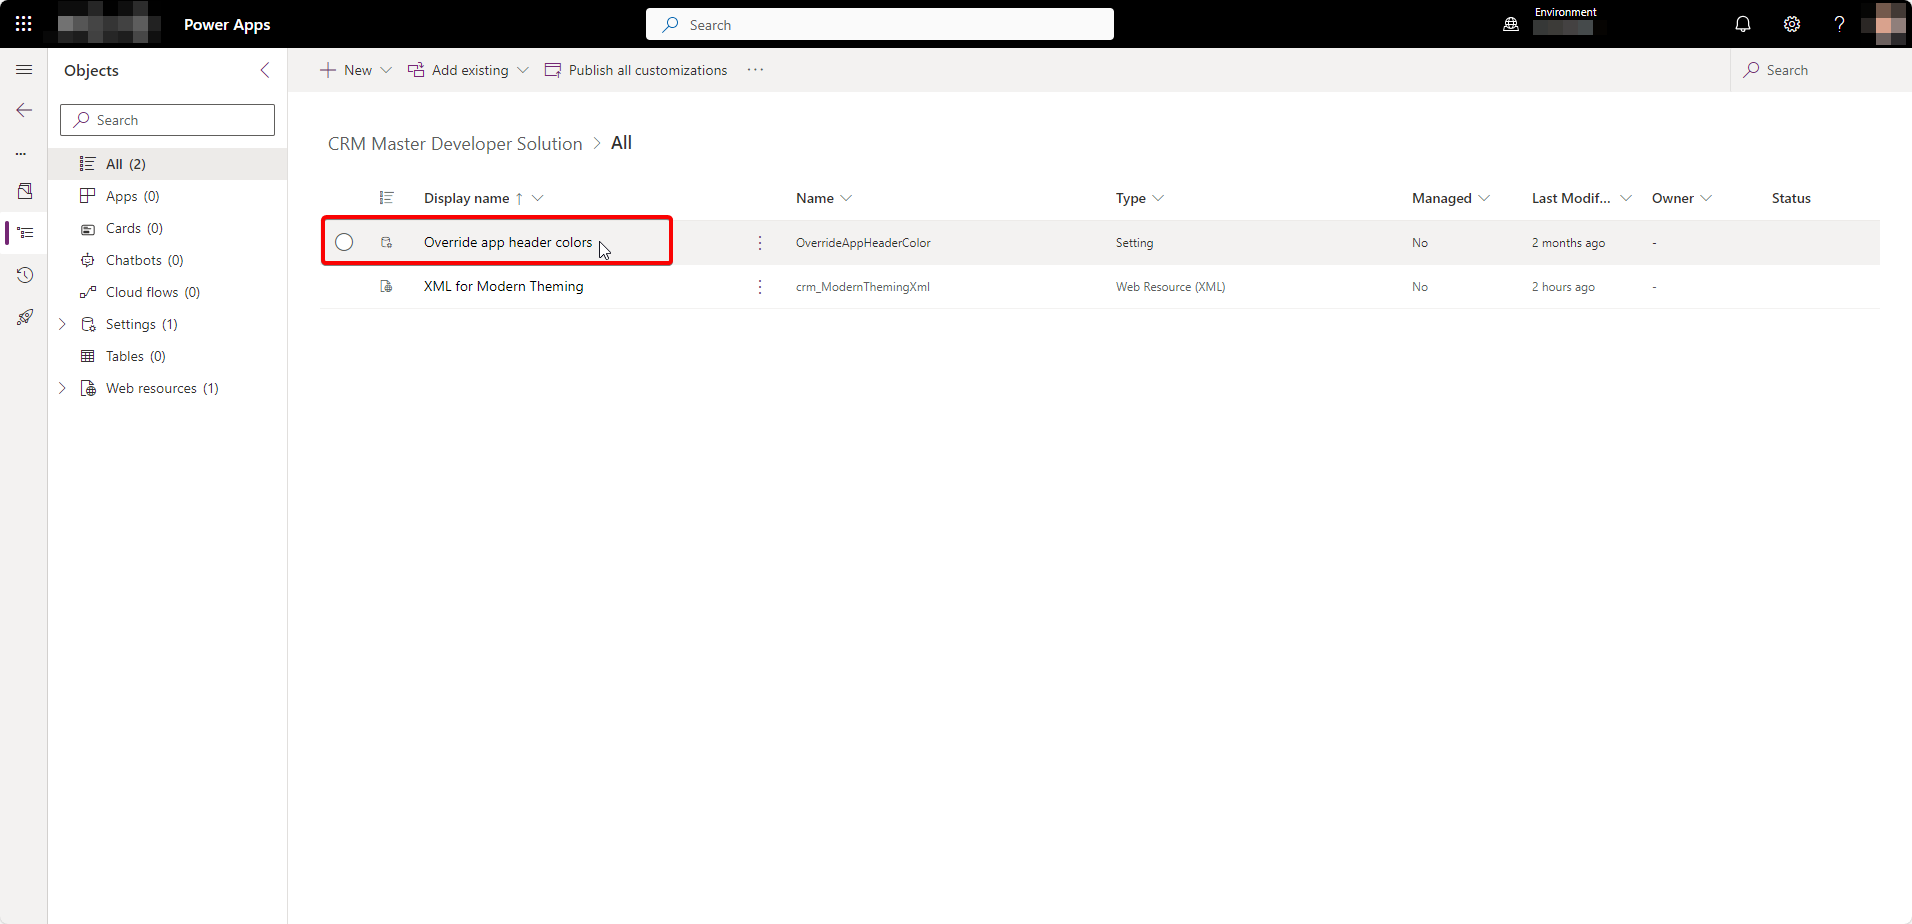
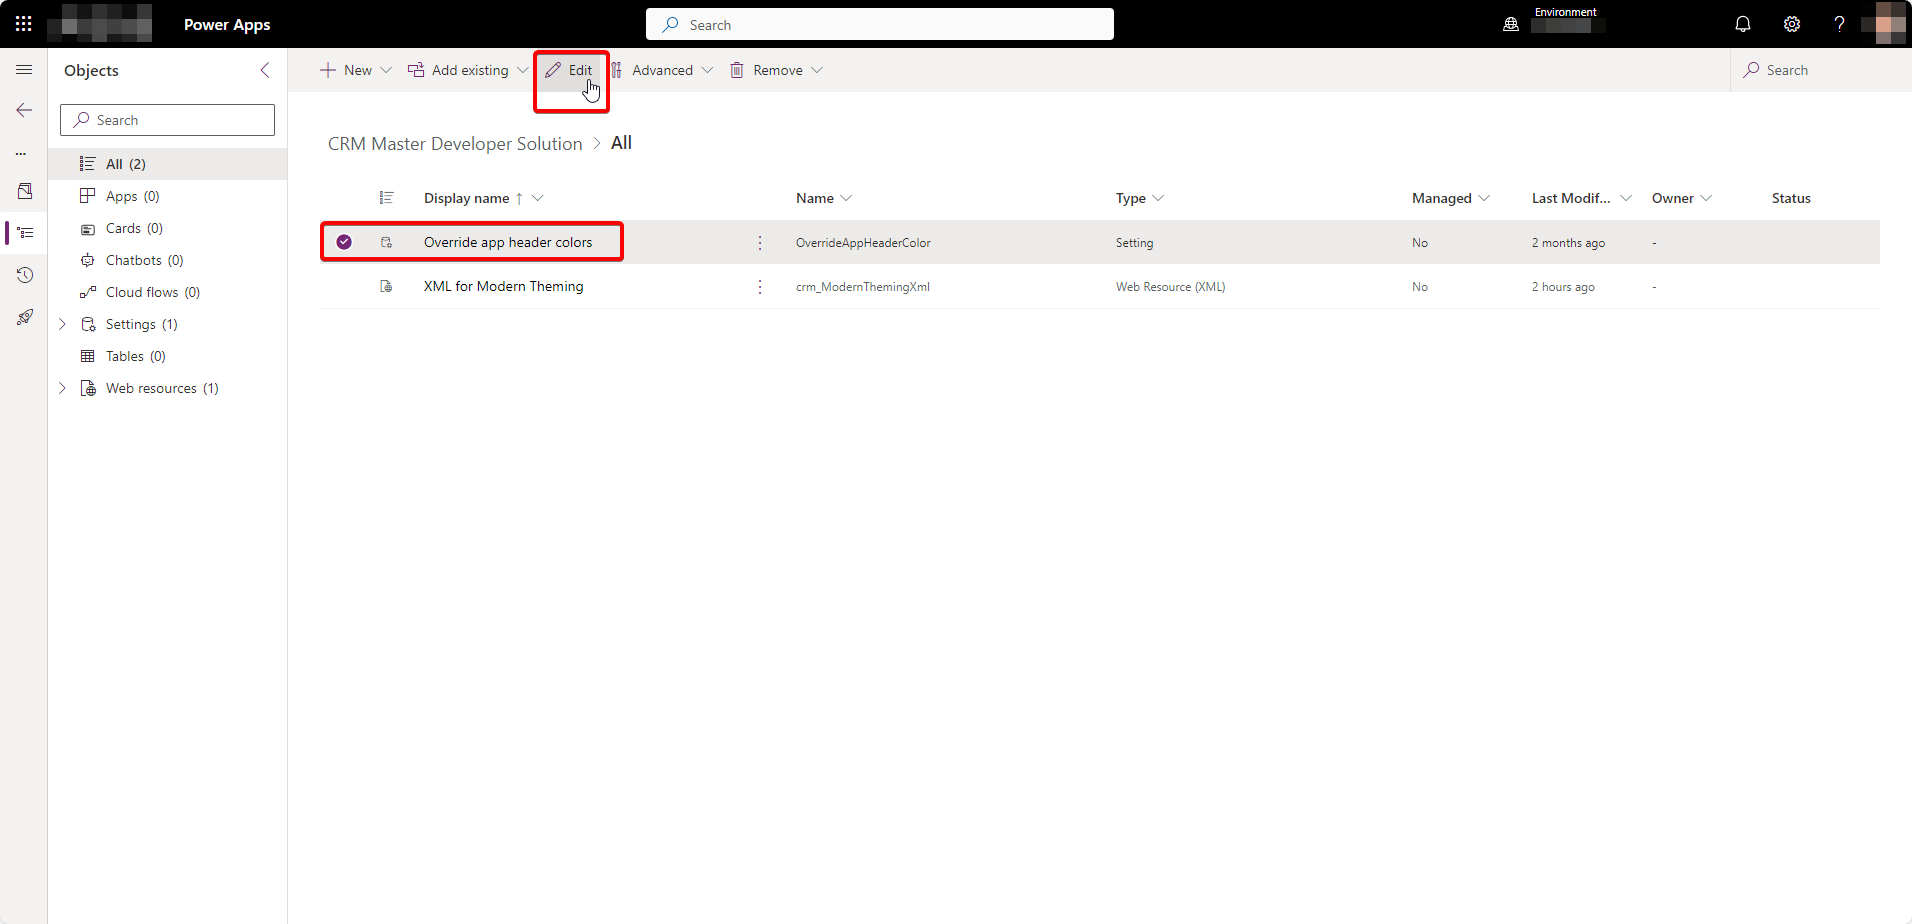
Select the new Settings entry and click “Edit”:
Scroll down to “Setting environment value” and click the “New environment value” button:
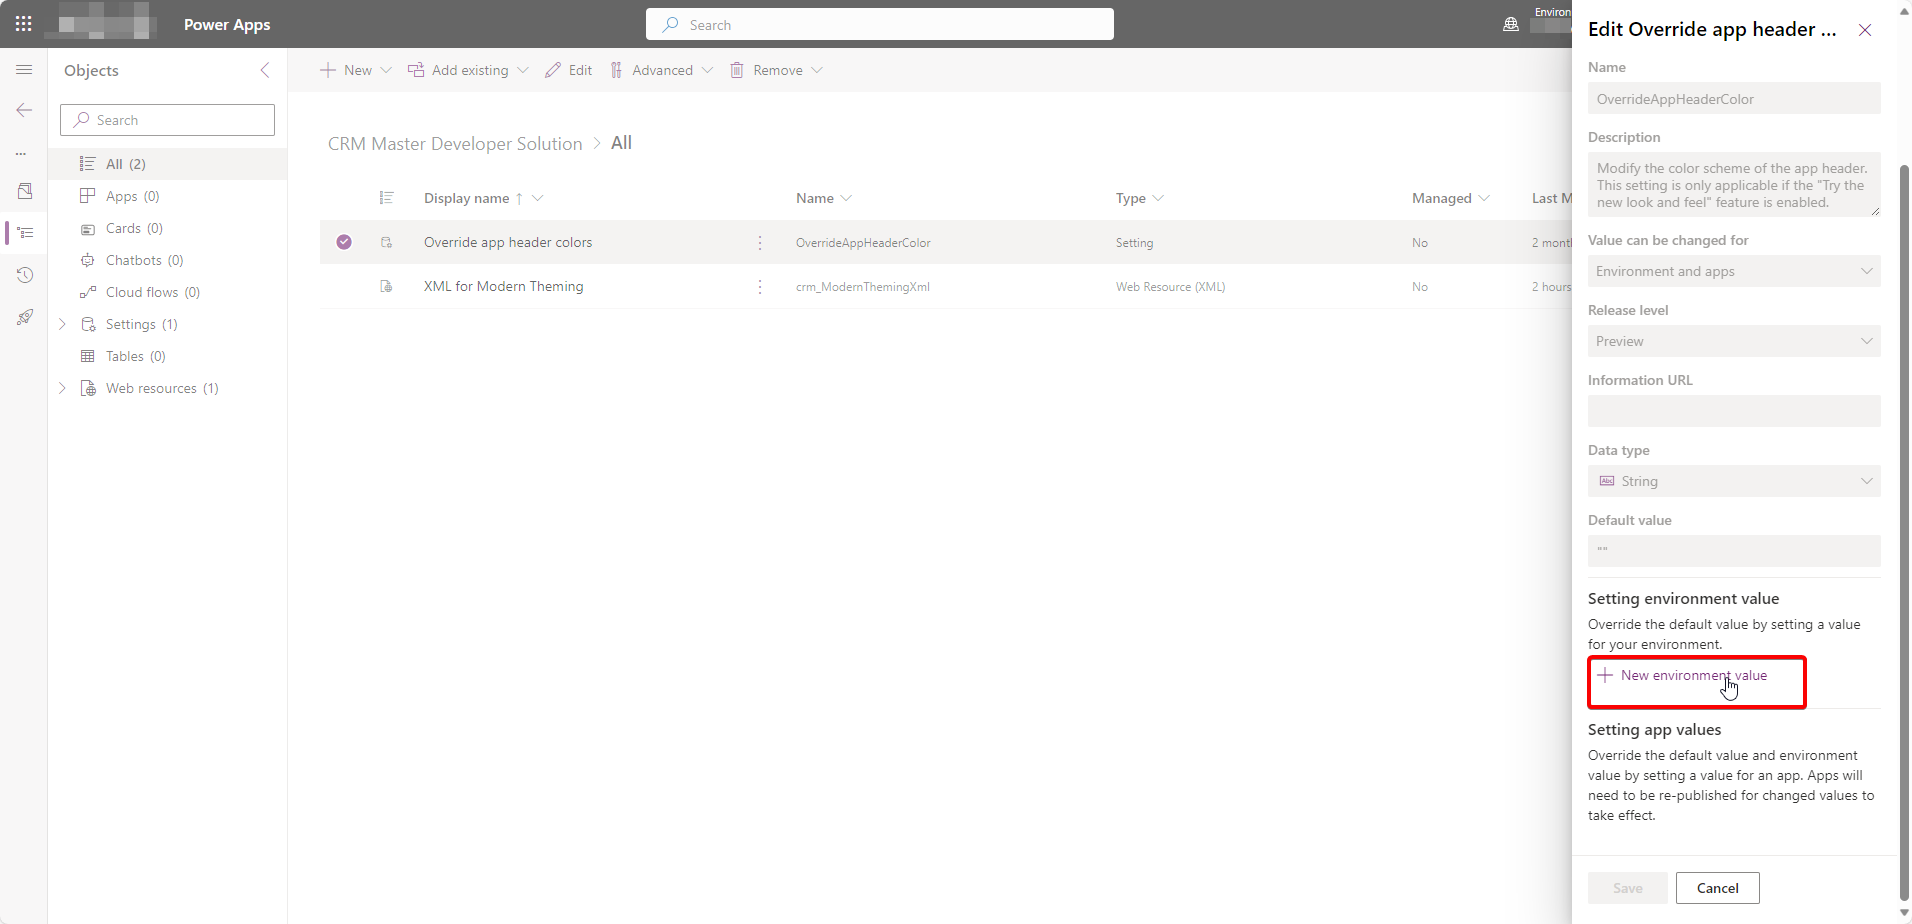
Enter the unique name you chase for your XML resource (if you’re lucky, you can even see it in the solution window behind the dialog) and click “Save”:
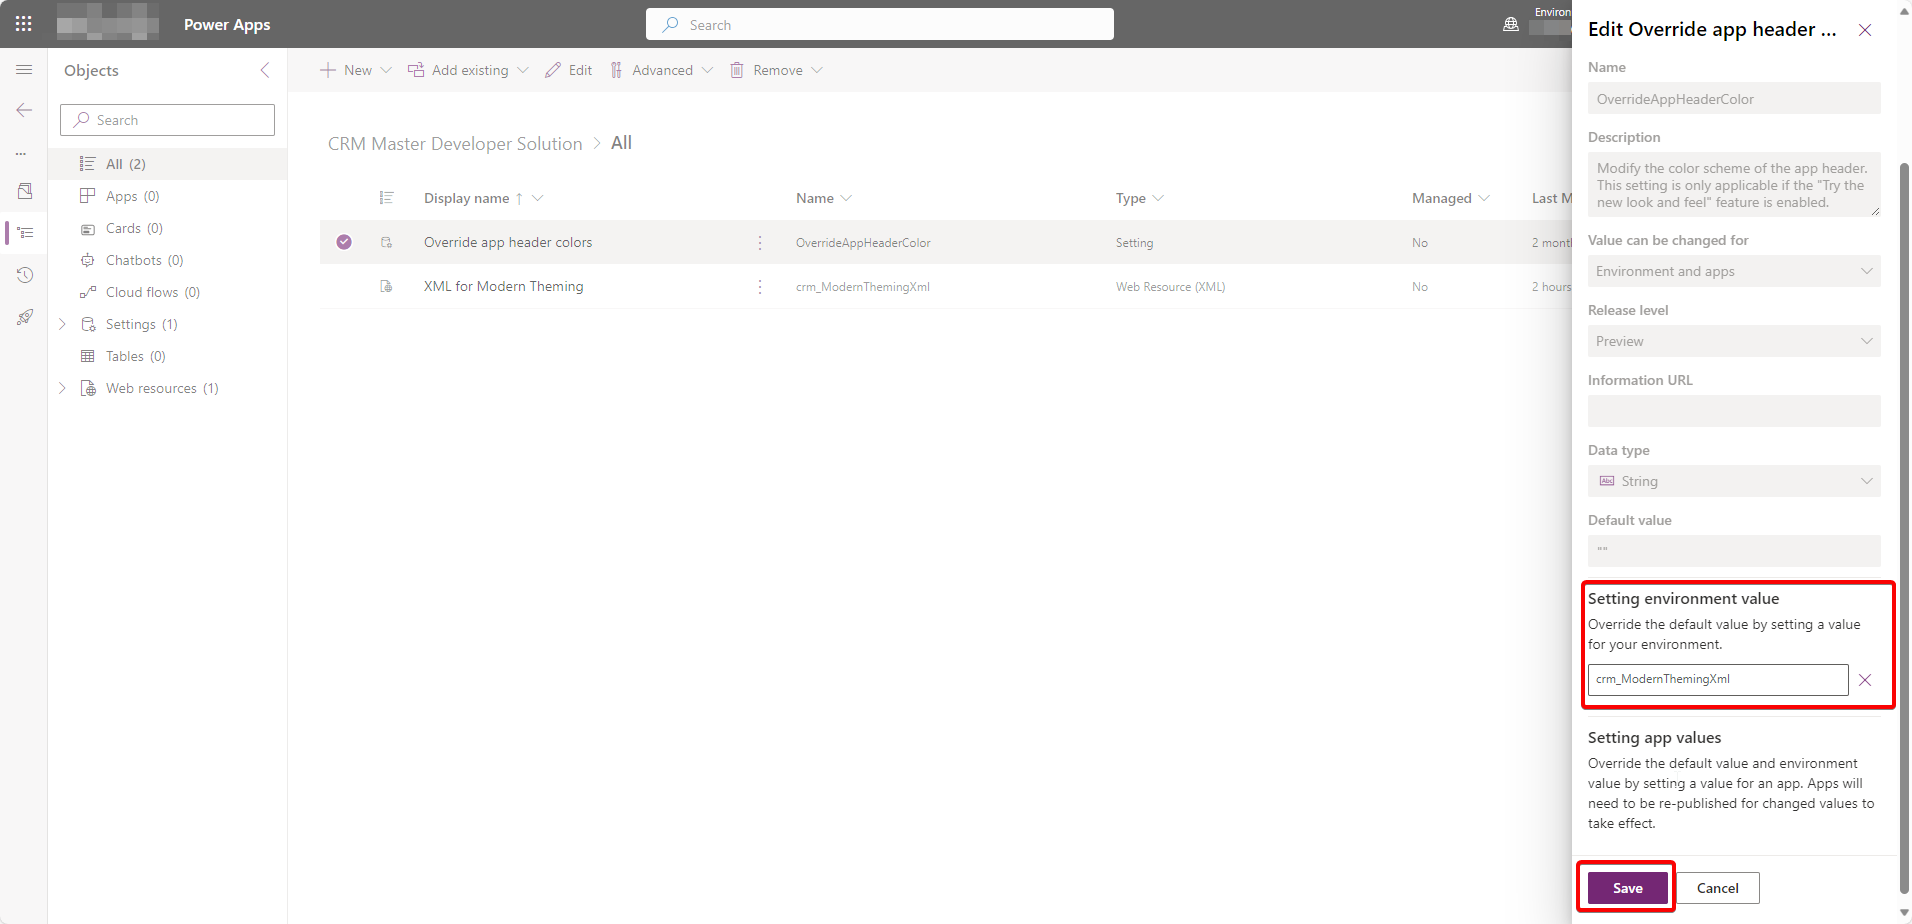
Observe: Microsoft has placed two citation marks in the box as default. But when you write in the web resource name, it should be without citation marks.
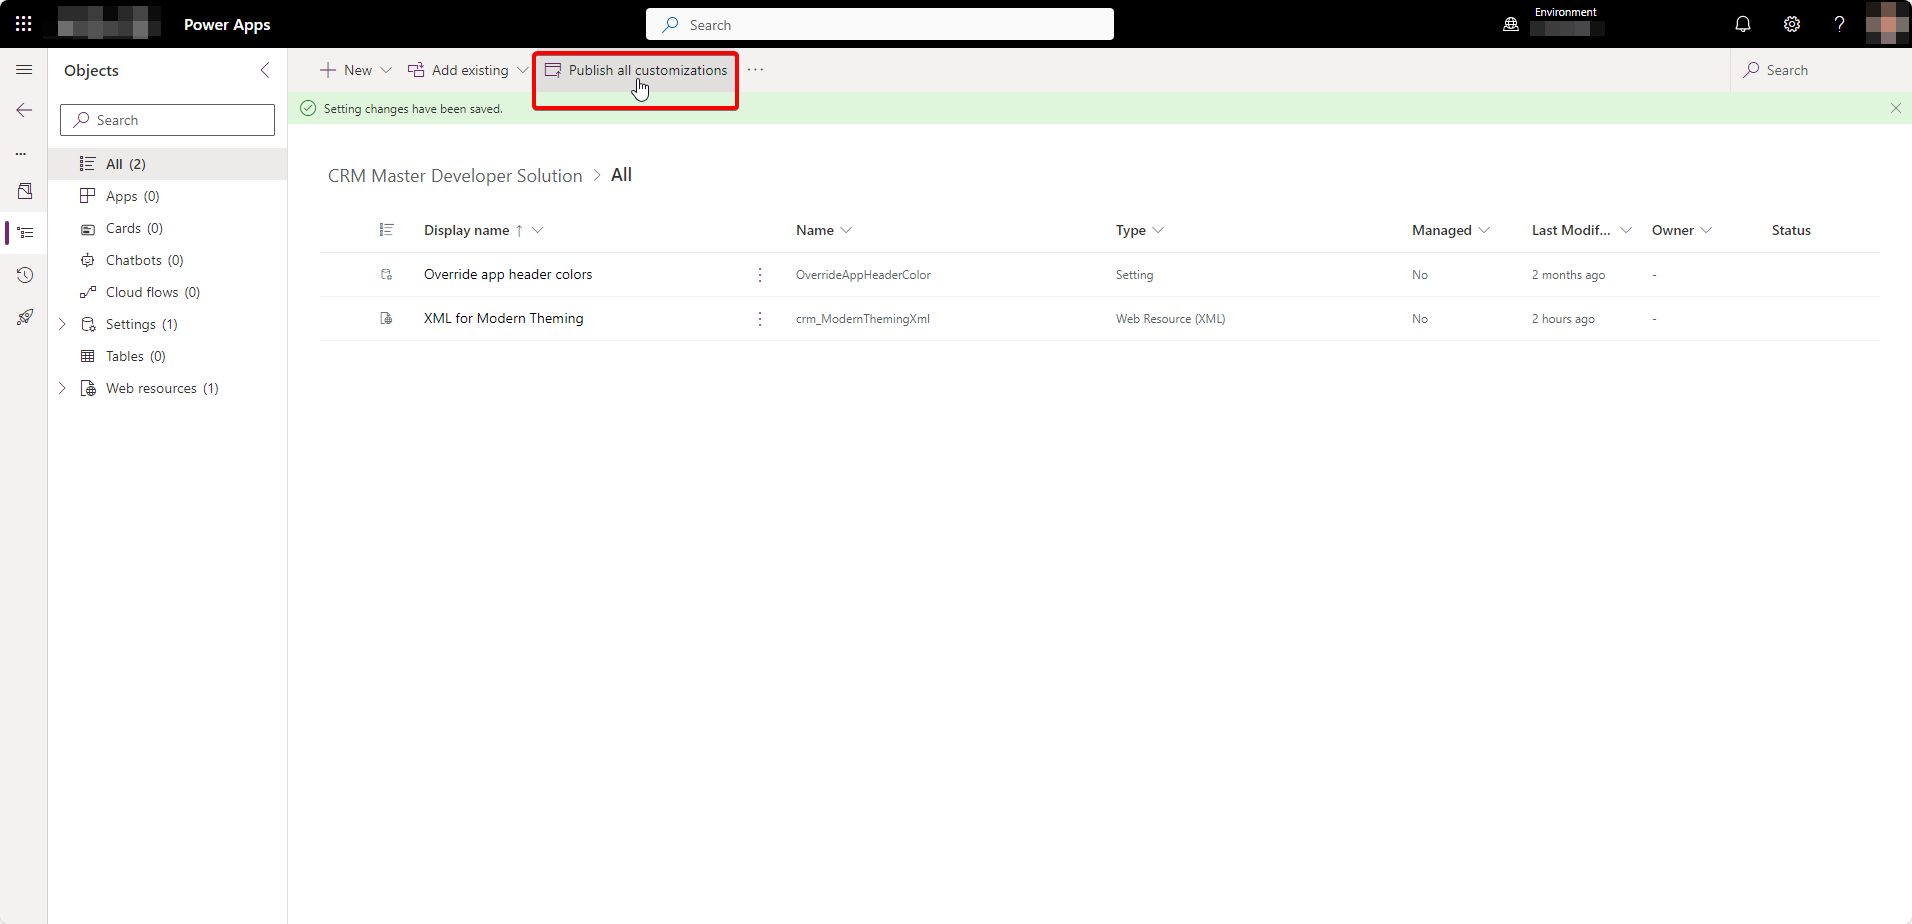
Click “Publish all customizations”. If you don’t see the button, you need to uncheck the Setting item in the pane below…
Step 4 – Verify you new colors
Last thing is to open you CRM environment if you don’t already have it open, hit CTRL+F5 to update the cache, and then you should see your new colors.
Hey, wait a minute? Didn’t you forget something? What about the Logo image?
What do you know? Isn’t it funny? Microsoft decides to create a whole new system for applying a custom color scheme. But they don’t support adding the logo image in this brand new way.
So what you need to do to add your own logo image, even to the new look, is to do what our hunter/gatherer forefathers before us has done all the way back to 2015 when Dynamics 365 CRM started supporting themes. Do it the old way! The logo picture will still show up in the new look.
If you have for gotten how to do that, you can read all about it HERE.